How to Generate and Print Return Labels from Airtable
You can generate return shipping labels directly from your Airtable data using TypeFlow's HTML/CSS template builder or a Google Docs template. Map your return fields (customer address, RMA number, tracking number) to a label template, add a barcode, and generate labels on demand or in bulk. No carrier API required. No copy-pasting between tools.
With US consumers returning $428 billion in merchandise annually and e-commerce return rates reaching 25%, manual label creation doesn't scale.
Airtable's Page Designer extension can create basic layouts, but it doesn't support barcodes, automation, or bulk generation - features essential for return label workflows.
For all label types including product and inventory labels, see our complete label printing guide. For barcode formats including EAN-13 and GS1-128, see our barcode generation guide.
Key Takeaways
- No carrier API required: Generate label PDFs directly from Airtable fields.
- Thermal + sheet label support: Print 4x6 thermal labels or Avery sheet labels.
- Scannable barcodes: Add Code128 or QR from any Airtable field.
- Multiple generation methods: Button click, automation trigger, or bulk batch.
- Easy delivery: Email labels to customers or attach them to Airtable records.
Generate Return Labels from Airtable for E-Commerce
Ready-to-use template
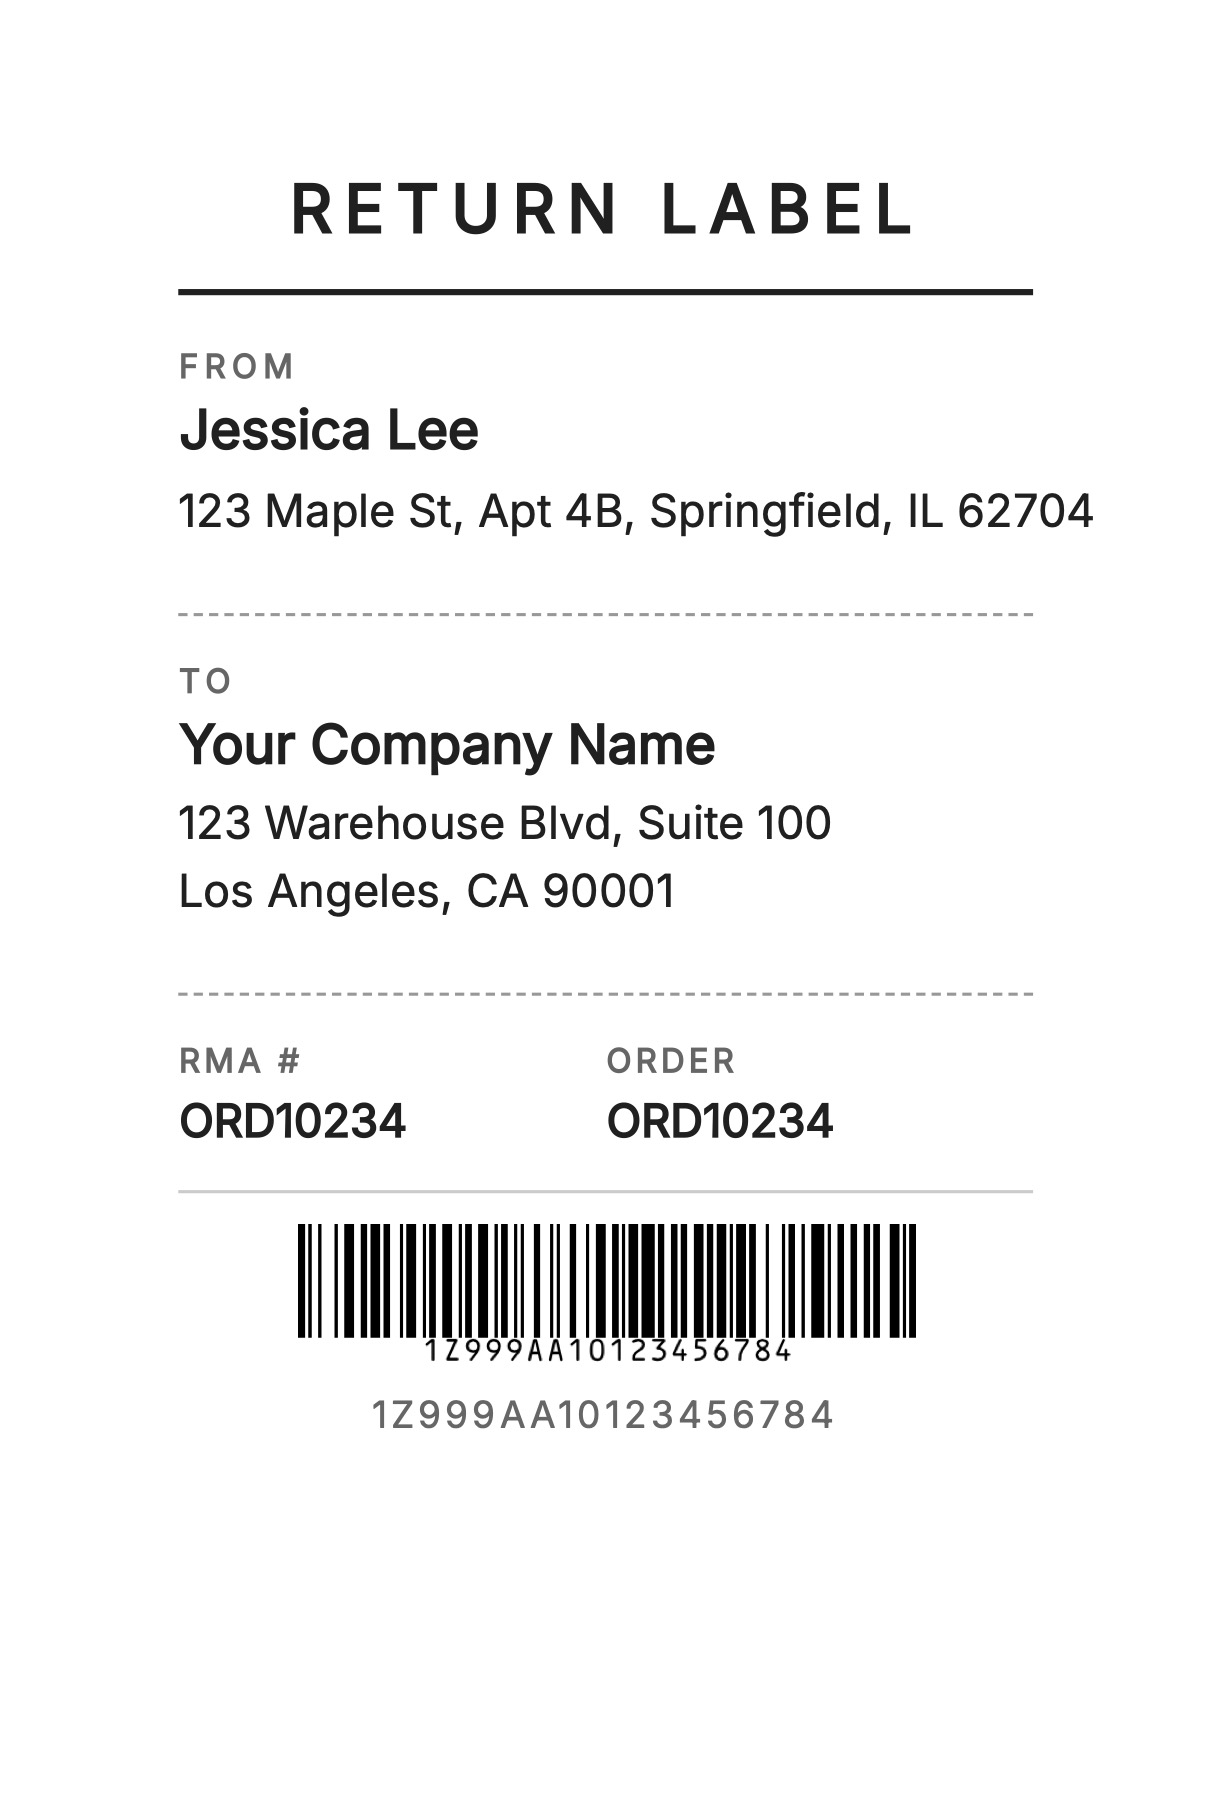
Return Shipping Label
Duplicate the Airtable base, paste the template in Typeflow, then generate your first PDF in minutes.
Free tier available • No credit card required
What Goes on a Return Label from Airtable
Airtable stores the return data, and TypeFlow turns that data into a formatted return label PDF. You design a label template once, map Airtable fields to variables, and generate labels without copy-pasting.
- Address blocks: Customer in the sender (From) position, your warehouse in the recipient (To) position.
- Reference info: RMA number and order ID so your team can match the package to the return record.
- Scan-friendly code: A barcode or QR code for fast intake and processing.
Sender and Recipient Address
On a return label, the customer's address sits in the sender position. Your business address - the warehouse or returns center - goes in the recipient spot. This is the opposite of what appeared on the original shipping label.
RMA Number and Order Reference
RMA stands for Return Merchandise Authorization. Think of it as a reference number that links the return to the original order in your system. When your warehouse team scans or reads the RMA, they can pull up the order details and know exactly what to expect in the package.
Return Tracking Number
The tracking number can come from your carrier or be an internal reference you create. Either way, this field pulls from your Airtable base when you generate the label.
Barcode for Scanning
Barcodes speed up processing at your warehouse. Instead of typing in an RMA number, your team scans the barcode and the system pulls up the return record. Common formats include Code128 for linear barcodes and QR codes when you want to encode more data. TypeFlow generates barcodes from any text or number field in Airtable. For a deeper look at barcode types, see our barcode generation guide.
What You Need Before You Start
Before creating your first return label, gather a few things:
- Airtable base: A table with your returns or orders data.
- Label template: Built with TypeFlow's HTML/CSS template builder or a Google Doc.
- TypeFlow account: Connects Airtable to Google Docs for PDF generation.
- Label size: Know whether you print on Avery sheets or a thermal printer like a Zebra or Rollo.
| Requirement | Description |
|---|---|
| Airtable Base | A table with your returns or orders data. |
| Label Template | Built with TypeFlow's HTML/CSS template builder or a Google Doc. |
| TypeFlow Account | Connects Airtable to your template for PDF generation. |
| Label Size | Know whether you print on Avery sheets or a thermal printer like a Zebra or Rollo. |
Once these are in place, the setup usually takes about 15 minutes.
Step 1: Set Up Your Airtable Base for Returns
Your Airtable structure determines what information appears on your labels. A well-organized base makes the mapping process straightforward.
Fields to Add in Your Returns Table
Create the following fields in your Returns table:
- Customer name
- Return address (full address in one field or split into street, city, state, zip)
- RMA number
- Original order ID
- Return reason (optional but useful for reporting)
- Tracking number
If you already have an Orders table, you might not need to duplicate all this information. Linked records can pull data from related tables.
You can see this structure in action in the demo Airtable base.
Linked Records for Orders and Customers
Linking your Returns table to your Orders or Customers table saves you from copying data. When you link a return to an order, you can display the original shipping address, product details, or customer email without entering it twice.
For example, if your Orders table has the customer's address, link the return record to the order. Then use a lookup field to pull the address into your Returns table. TypeFlow can read lookup fields the same way it reads regular fields.
Step 2: Design Your Return Label Template
TypeFlow's HTML/CSS template builder acts as your label layout. You design the template once, add placeholder variables, and TypeFlow fills in the data for each return. You can also use a Google Docs template if you prefer.
1. Pick Your Label Size
For most return workflows, 4x6 inches is the standard.
That size works best with thermal shipping printers like Rollo, Zebra, and DYMO. If you are using a standard office printer, use Avery sheet labels instead.
Here are the common options:
| Label Type | Size | Use Case |
|---|---|---|
| Thermal | 4x6 inches | Zebra, DYMO, Rollo printers |
| Avery 5160 | 2.625 x 1 inch | Standard sheet printers |
| Avery 5163 | 4 x 2 inches | Larger sheet labels |
In TypeFlow's template builder, set the page format to custom and enter your dimensions. For a 4x6 thermal label, enter 4 inches wide and 6 inches tall.
2. Build the Layout
Position your elements where they belong on the label. A typical layout places the return address block at the top, the recipient address (your warehouse) in the center, and the barcode at the bottom. Keep margins minimal since most labels print edge-to-edge.
You can add your company logo, a "RETURN" header, or any other static text. Anything you type in the template appears on every label.
3. Add the Variables
TypeFlow uses double curly brackets to mark where data goes. Type placeholders in your template like this:
{{customer_name}}{{return_address}}{{rma_number}}{{barcode}}
When TypeFlow generates the label, it replaces each variable with the actual data from your Airtable record. The variable names can be anything you want - just make sure they match what you enter in TypeFlow later.

Step 3: Connect TypeFlow to Your Airtable Base
Sign up at app.typeflow.us and connect your Airtable account via OAuth. TypeFlow asks for read access to your bases - authorize it, and your bases and tables appear in the dashboard.
This setup takes about two minutes. You only do it once, and then TypeFlow remembers your connection across all your bases.
Step 4: Map Airtable Fields to Your Return Label
Field mapping tells TypeFlow which Airtable field corresponds to each template variable. In the TypeFlow interface, you match them like this:
{{customer_name}}-> Customer Name field{{return_address}}-> Return Address field{{rma_number}}-> RMA Number field{{barcode}}-> Tracking Number or RMA Number field
Double-check that your variable names in your template match exactly what you enter in TypeFlow. A small typo - like an extra space or different capitalization - means blank spots on your label.

Step 5: Add a Barcode or Tracking Number to the Label
TypeFlow generates barcodes from any text or number field in Airtable. In your field mapping, select the barcode format you want. Code128 works for most shipping and warehouse applications. QR codes work well if you want to encode more information, like a URL to the return record.
The barcode is print-ready, so your warehouse scanner can read it like any standard shipping code. For more on barcode formats and use cases, see our product labels with barcodes guide.
| Barcode Type | Best For | Encodes |
|---|---|---|
| Code128 | Warehouse scanning and simple identifiers | Short text (RMA, tracking number) |
| QR Code | Linking to a record or portal | More data (URL + metadata) |
Step 6: Generate a Return Label from Airtable
You have three ways to trigger label generation depending on your workflow.
Option 1: Airtable Button Field
- Copy the generation URL: In TypeFlow, grab the generation link from your flow.
- Create an Airtable Button field: Paste the URL so each record can trigger its own label.
- Click to generate: The label PDF generates for that specific return record.
Use a button when you want to generate labels one return at a time.
Option 2: Airtable Automation Script
Set up an Airtable automation that runs a script to call TypeFlow's API. The script triggers label generation without any manual clicks. See Step 7 below for trigger examples.
Option 3: Bulk Generation
Select multiple records in your Airtable view and use TypeFlow's bulk generation to create all labels at once. The PDFs save to each record's attachment field.
Bulk generation works well when you process returns in batches - for example, at the end of each day or when you hit a certain number of pending returns. For more on bulk workflows, see our label printing guide.
| Trigger Method | Best For | Manual Steps |
|---|---|---|
| Button field | Specific returns on demand | Click per record |
| Automation | Hands-off label generation | Zero after setup |
| Bulk generation | Printing many labels at once | Select records, click once |
Step 7: Automate Return Label Generation with Airtable Automations
Airtable automations can trigger label generation without any manual clicks. You set up a trigger, and the label generates automatically.
Common triggers include:
- When a return request status changes to "Approved"
- When a new record appears in your Returns table
- When someone checks a "Generate Label" checkbox
What happens next: The automation runs TypeFlow, generates the PDF, and attaches it to the Airtable record.
Online return rates averaged 17.6% in 2024 (National Retail Federation), so automation quickly saves hours at scale.
Tip: Test your automation with a single record before processing a full batch. This catches any mapping errors before they affect multiple labels.
How to Send the Return Label to Your Customer
Once the label exists as a PDF, you have several delivery options:
- Attach to the Airtable record: Customers download from a self-service portal, or you send them the link.
- Email via TypeFlow's built-in email delivery: TypeFlow sends the PDF directly to your customer's email when the label generates - no extra setup needed.
- Email via Gmail integration: On Pro plans and above, TypeFlow sends emails from your own Gmail address so the label comes from your brand, not a generic sender.
- Print and include: For exchanges, print the return label and include it in the outgoing package.
Your customer receives the label, prints it, and sticks it on the box.
Real-World Use Cases for Return Labels
E-commerce Returns Processing
- Online retailer approving returns via Airtable form
- Automation generates label when status = "Approved"
- Label emailed to customer automatically
Warranty and Repair Programs
- Manufacturer tracking defective products
- RMA numbers linked to original order
- Bulk label generation for recall campaigns
Rental and Subscription Box Returns
- Equipment rental companies
- Subscription services needing return labels in every shipment
- Pre-generated labels attached to outbound orders
Common Issues and Solutions
Barcode Not Showing
Check that your barcode field in Airtable contains data. Empty fields produce blank barcodes. Also verify the variable name in your template matches your TypeFlow mapping exactly - including capitalization and spacing.
Wrong Address on the Label
This usually happens when the field mapping points to the original shipping address instead of the return address. Review your mappings in TypeFlow and confirm you selected the correct field. If you use linked records, make sure the lookup field pulls the right address.
Label Size Off in the PDF
Adjust the page size in your template settings to match your label dimensions. Set margins to zero or as small as possible. Some printers also have scaling settings that affect output size - check your print dialog for "Fit to page" or "Actual size" options.
Automation Not Triggering
Check that your automation trigger conditions match exactly. If using "When record matches conditions," verify the field value matches your filter (e.g., Status = "Approved" with exact capitalization). Test with a single record first.
Frequently Asked Questions About Airtable Return Labels
Frequently Asked Questions
Find answers to the most common questions about this feature.
Popular Questions
All Questions
Need more help?
Our team is here to help you solve all your problems and answer your questions.
Contact UsStart Generating Return Labels from Airtable with TypeFlow
TypeFlow connects your Airtable base to Google Docs templates for label generation. Map your fields, design your template once, and generate return labels on demand or in bulk. Rated by Airtable users on G2. Start for Free and create your first return label in minutes.
Automate your document generation
Start with 20 free documents. Built for businesses using Airtable.

Kevin from TypeFlow
•AuthorKevin Rabesaotra is a growth engineer and automation specialist with 8+ years of experience building no-code solutions. As Founder & CEO of TypeFlow, he has helped hundreds of businesses automate document generation and streamline workflows with Airtable integrations. Previously, Kevin was a Product Lead specializing in growth engineering, running experiments to drive revenue, retention, and lead generation.
More articles
How to Print Labels from Airtable with Quantity Control (Step by Step)
Print multiple labels per Airtable record based on a quantity field. Step-by-step guide for linked records mode and quantity repeat mode with barcodes and Avery sheets.
Read articleHow to Print Avery Mailing Labels from Airtable
Print Avery mailing labels (5160, 5161, 5162) from Airtable without Word mail merge. Step-by-step guide with print label mode, automation, and bulk generation.
Read articleHow to Create Inventory Labels with Barcodes in Airtable
Create inventory labels with Code 128, EAN-13, or QR barcodes from Airtable. Step-by-step guide for warehouse, retail, and asset tracking with thermal and Avery printers.
Read article